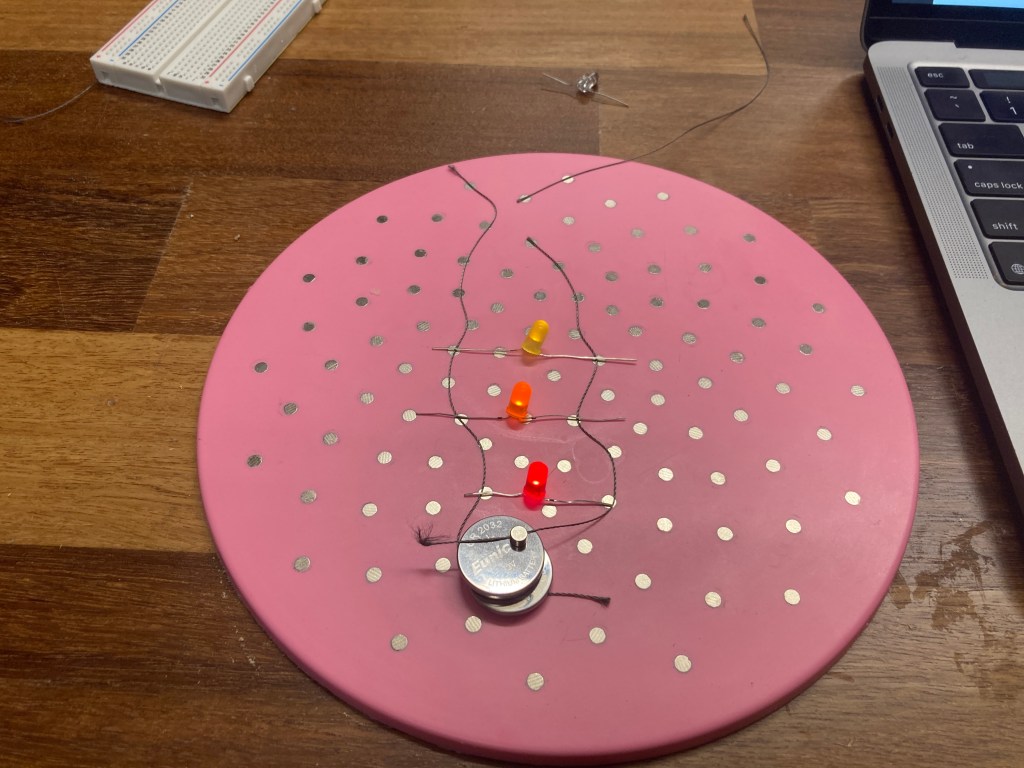
Part 1: Threadboard Circuts
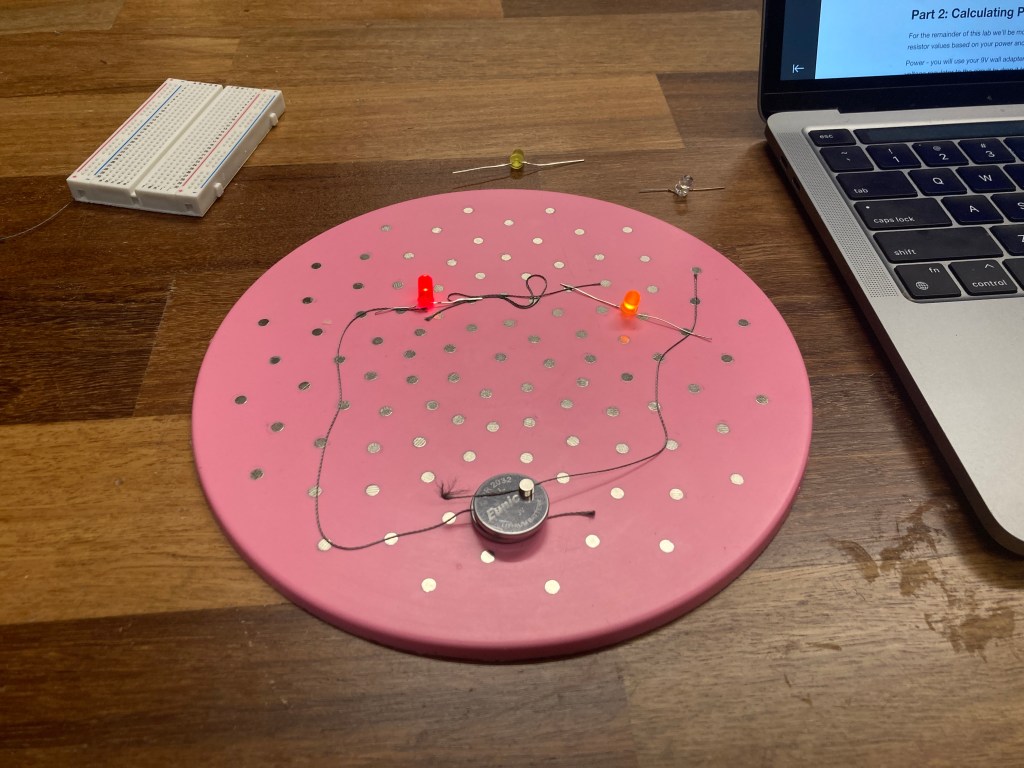
Looking at the difference between the LED’s in series and parallel, I could tell that they were brighter when they were arranged in parallel. This is because they aren’t sharing the voltage, but rather they both get the maximum amount of voltage which makes it brighter. When trying out different LED colors, I noticed that red tended to be less bright, and colors going towards white were brighter (aka, blue, green). In series, when I added 2 LED’s I could tell that they were both dimmer than when I only had one, but in parallel adding another LED didn’t change the brightness.
Part 2: Calculating Power Requirements
Ohms Law: V = IR
To find the resistor that we need, we can use Ohm’s law to calculate the resistance we need knowing the voltage and the current that runs through the LED’s. I used a voltage regulator to drop the input to 5V, and I looked up the current through blue LED’s, which was ~20mA. Using the equation, I got a resistor value of ~250Ω. The closest resistor value was 220Ω, so I used that one.
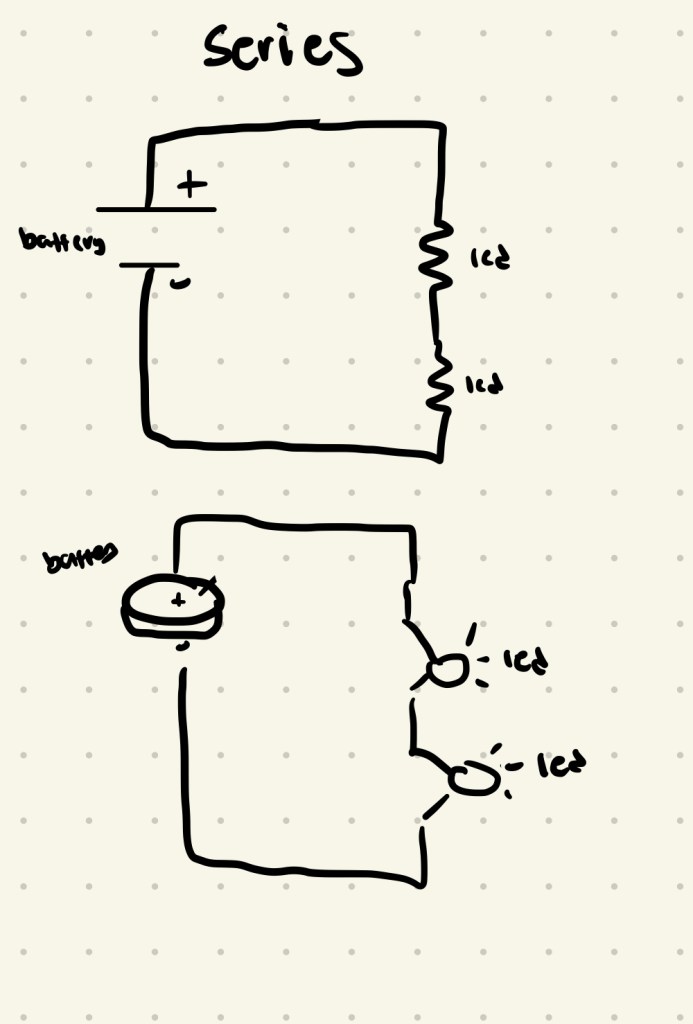
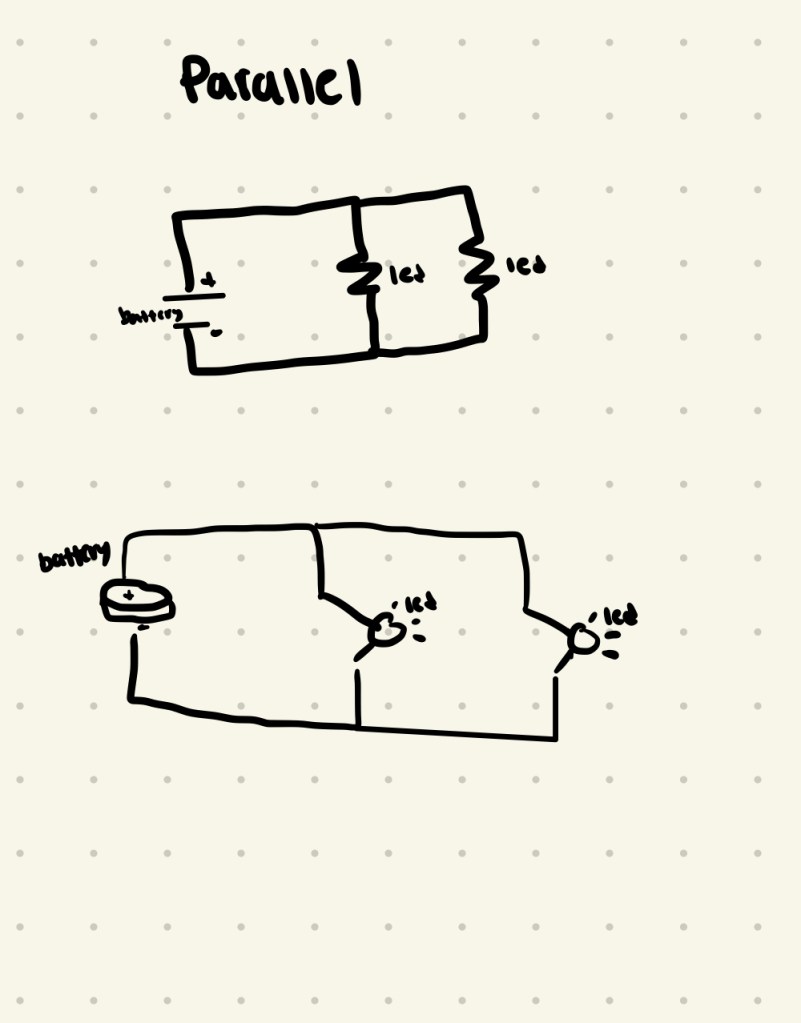
Part 3: Breadboard circuits
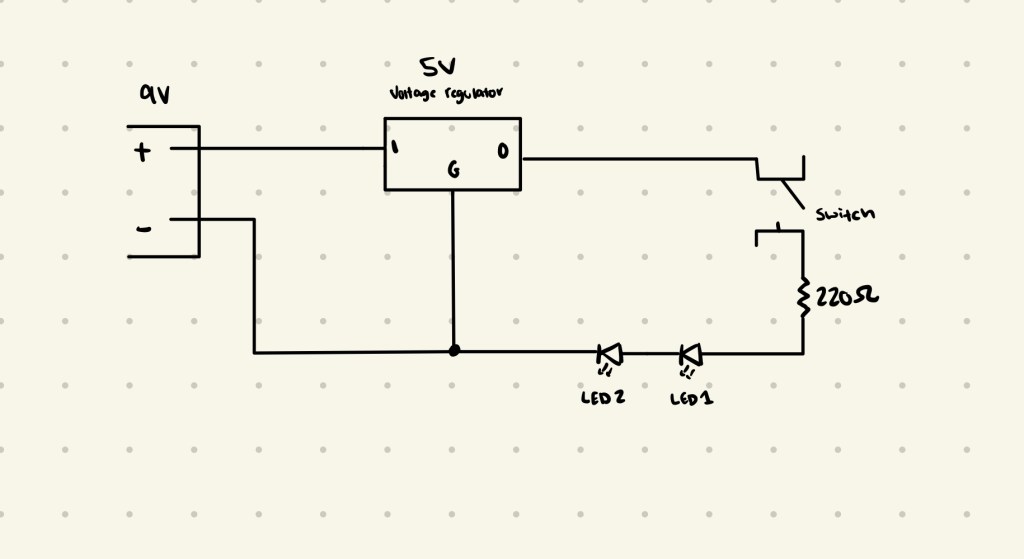

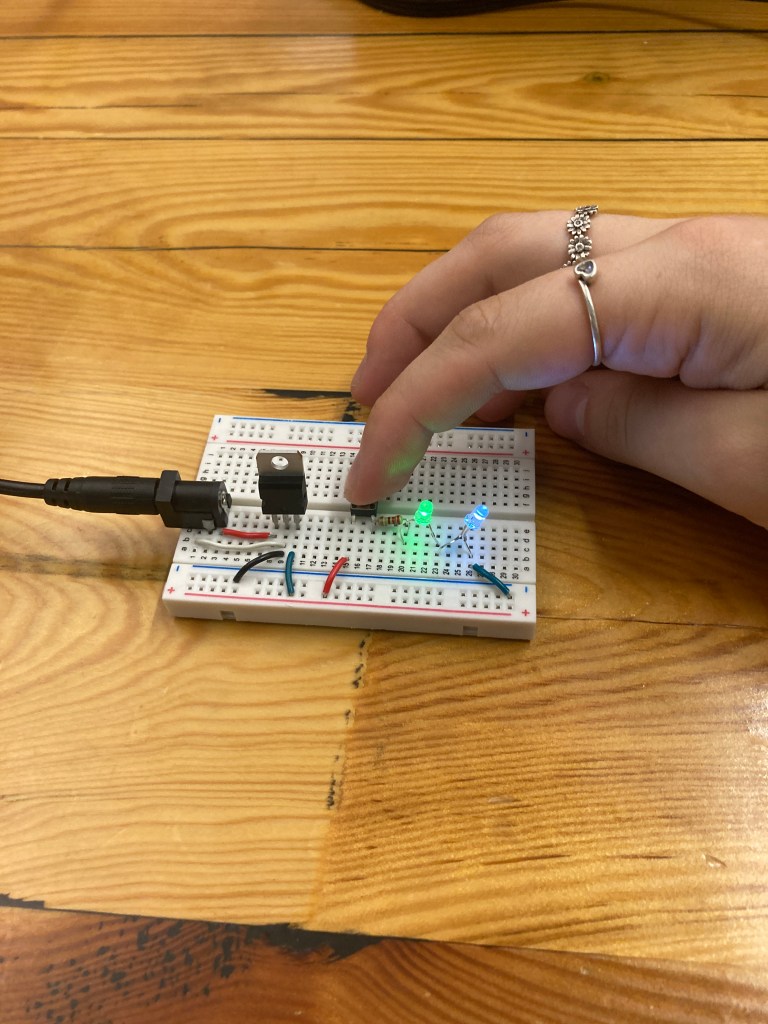
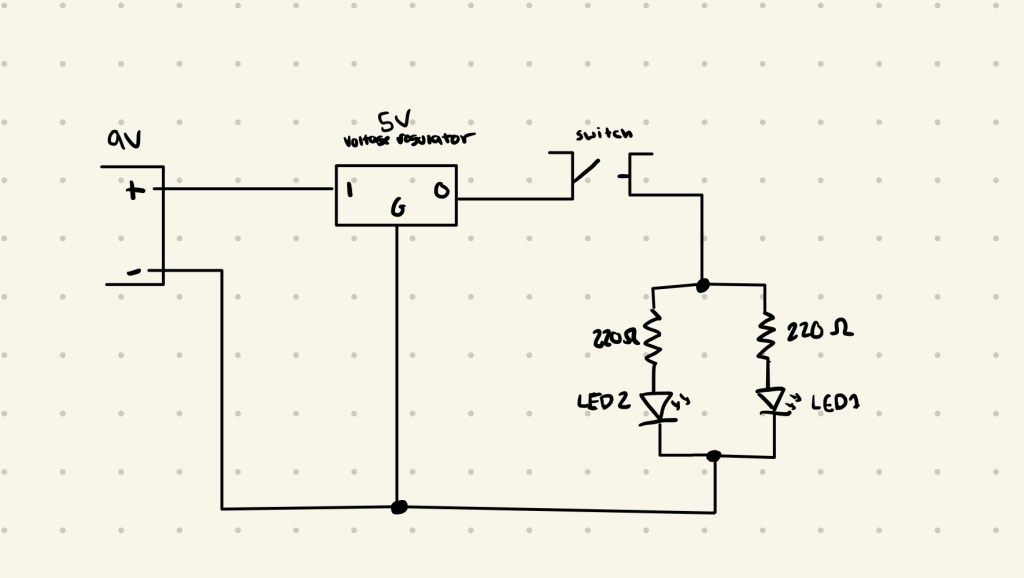
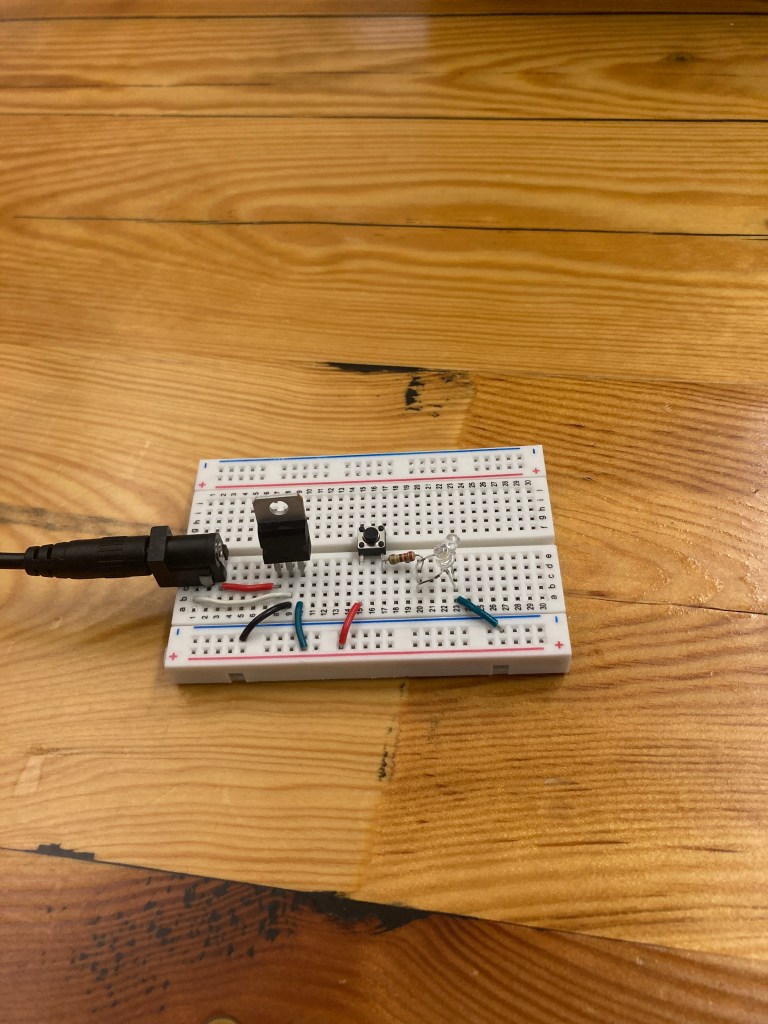
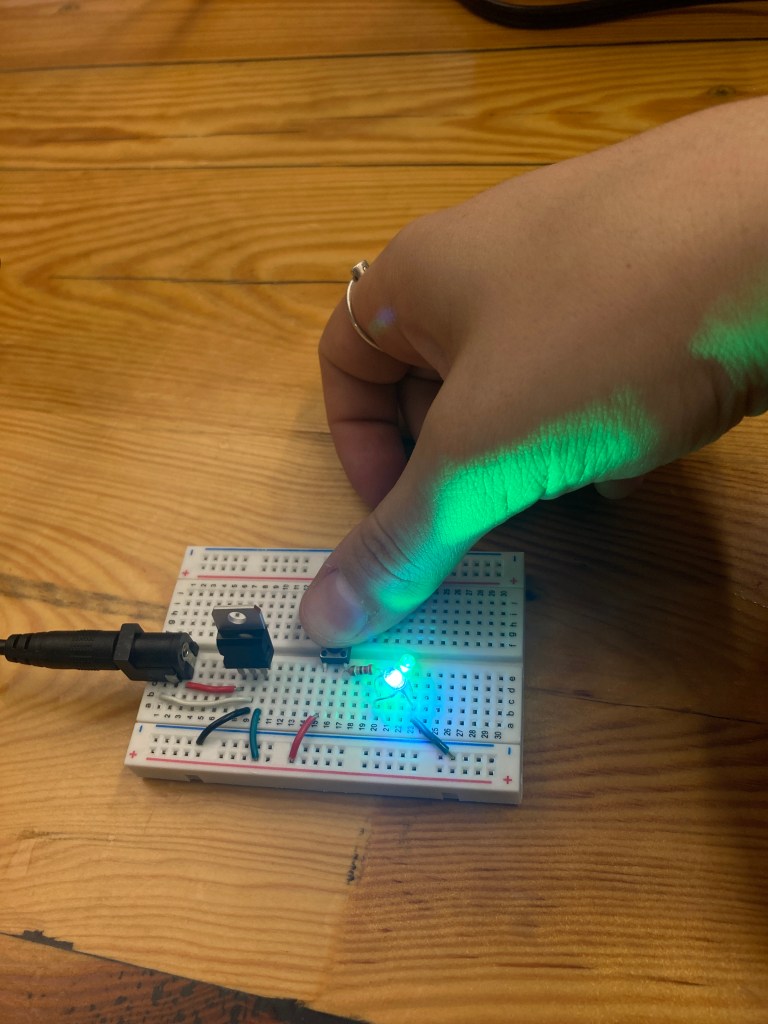
For the circuit in series, I hooked the LED’s up one right after another, then linked the second one back to ground. For the circuit in parallel, I put both of the LED’s so they attached to the switch, and then they were both attached to the ground wire.

Leave a comment